
얼마 전, 휴대용 포토 프린터를 구입했어요. 아이 방학 숙제나, 여행사진 뽑을 때 활용하기 좋아서 고민고민하다가 코닥 미니3로 결정했습니다.
A while ago, I bought a new photo printer. It seemed perfect for printing my child's homework and travel photos.
제가 산 미니3 레트로는, 포토프린터 본체와 추가 카트리지 60매로 구성되어있어요. 카트리지는 30매 번들을 구매할 경우 장당 150원 정도의 가격이더라고요.
The Mini3 Retro model I purchased includes the main body of the photo printer and an additional cartridge of 60 sheets. If you buy a bundle of 30 sheets, the price is around 150 won per photo.
이 제품은 3×3인치 크기의 사진을 프린트할 수 있고, 국내 생산 제품이더라고요. 메이드 인 코리아 보기 힘든데...😮 코닥에서 라이센스를 받아서 자체 생산하는 제품인 것 같아요.
This product can print 3x3 inch-sized photos, and it's domestically manufactured. I was surprised to find that it was "Made in Korea."
박스 안에는 본체가 비닐에 쌓여진 채 들어있어요.
The printer is wrapped in plastic inside the box.
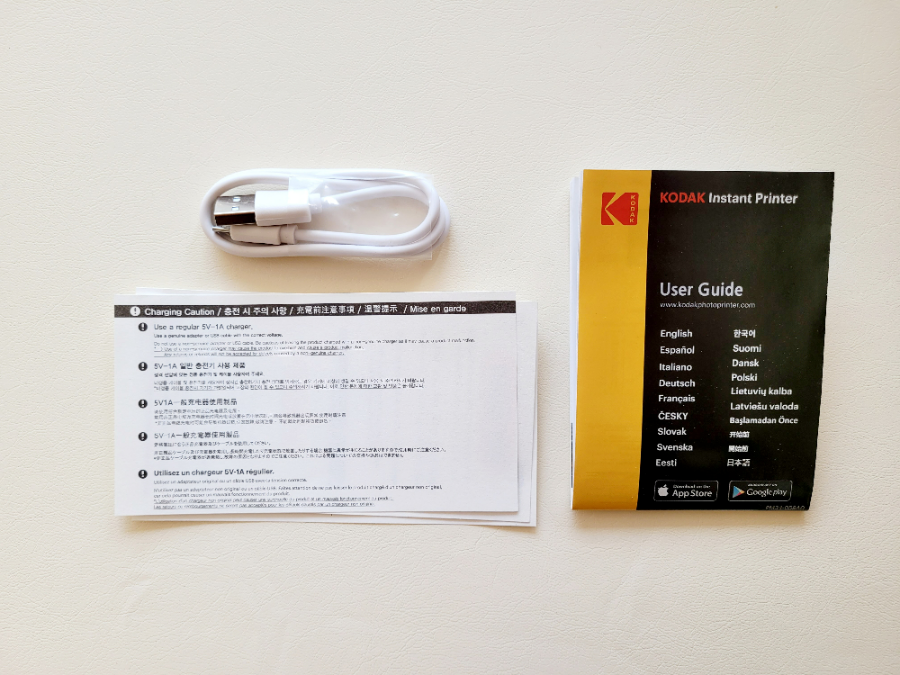
충전 케이블과 보증서, 제품 설명서도 함께 포함되어있습니다.
The charging cable, warranty certificate, and product manual are also included.
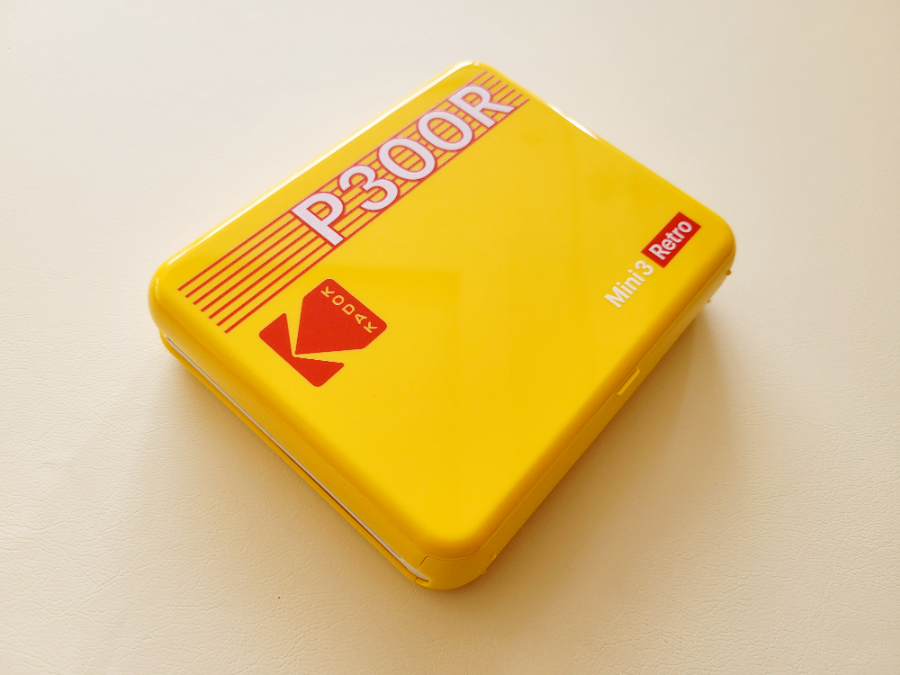
진짜 레트로한 디자인- 컬러는 화이트/옐로우/블랙 세 가지인데, 짝꿍이 코닥은 옐로우라길래 노랑색을 사게되었어요. 크기는 132x104mm로 제 손바닥만해요.
You can choose from three colors: white, yellow, and black. My husband said that the yellow color represents the characteristic of Kodak, so I decided to go with the yellow one. The size is 132x104mm, just about the size of my hand.

우측 상단에 전원 버튼이 있는데요, 길게 꾹 눌러주면 전원을 켜고 끌 수 있어요.
There is a power button on the upper right. If you press and hold it for a while, you can turn the power on or off.
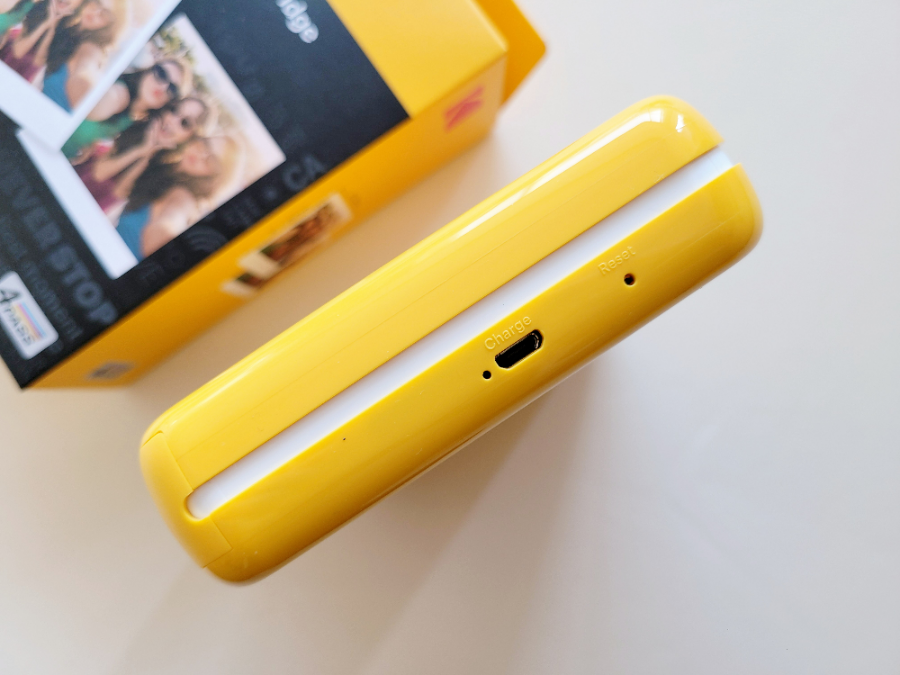
충전 포트는 오른쪽 옆에 있고요.
The charging port is located on the right side.
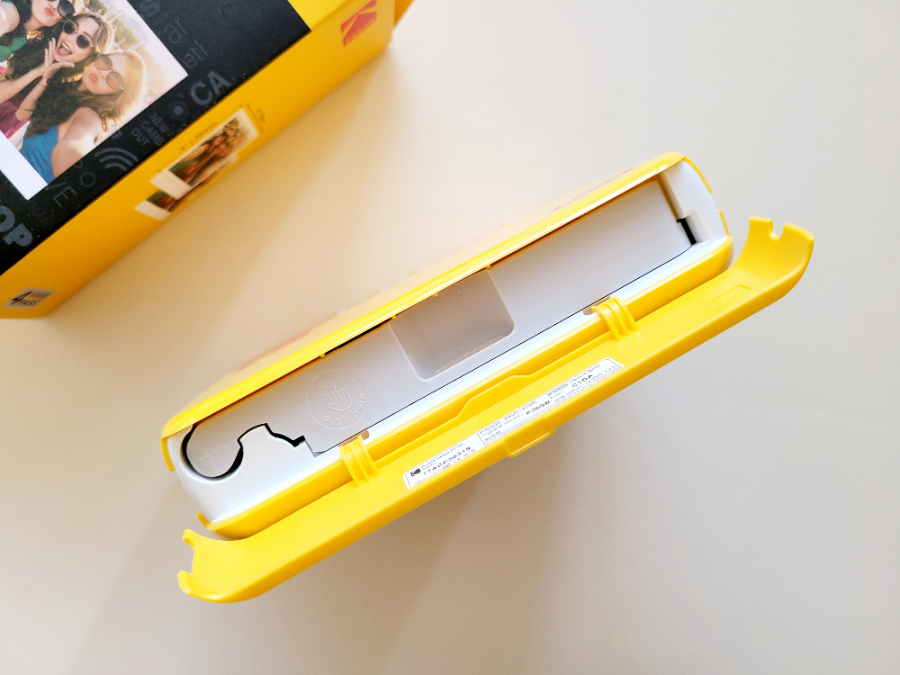
하단의 뚜껑을 열면 카트리지를 교환할 수 있어요. 본체에는 8매 짜리 카트리지가 기본으로 포함되어있습니다 :)
If you open the bottom cover, you can replace the cartridge. The main unit comes with an 8-sheet cartridge included.
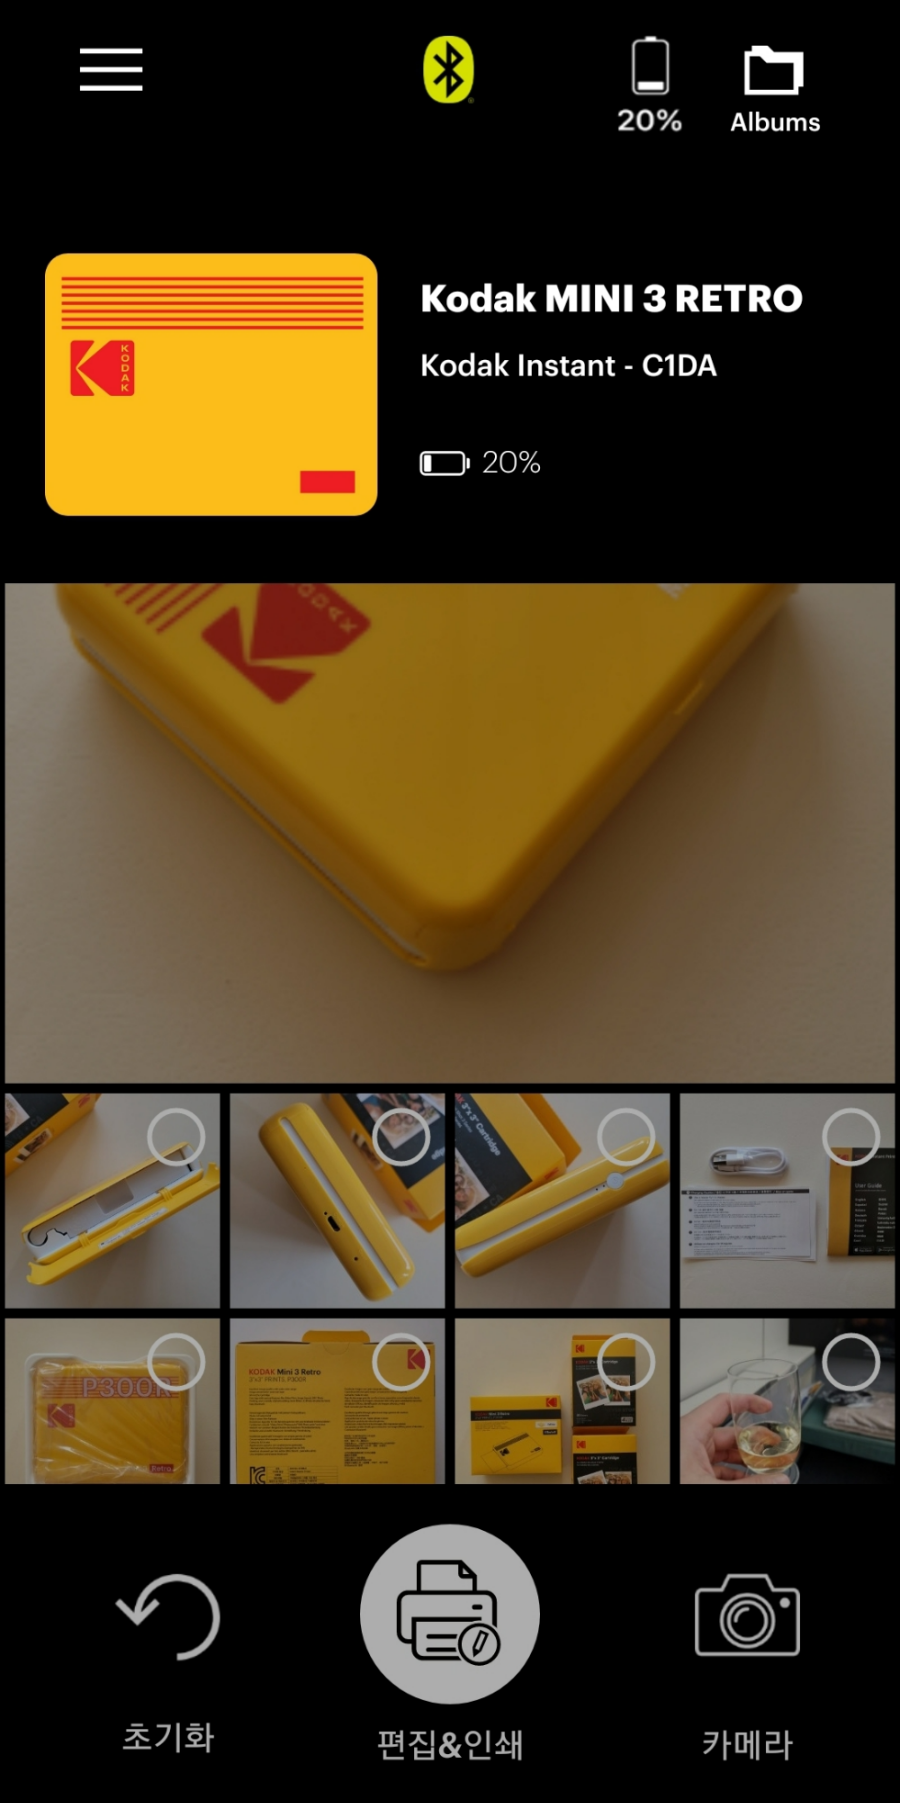
포토 프린터를 사용하기 위해서는 코닥 포토 프린터 앱을 설치해야하는데요, 본체 전원을 켜고 핸드폰의 블루투스 기능을 활성화하면 쉽게 연결이 되더라고요. 앱으로는 간단한 편집도 가능합니다.
To use the photo printer, you need to install the Kodak Photo Printer app. After turning on the printer and activating the Bluetooth function on your phone, it connects easily.
앱에서 출력 버튼을 누르면, 바로 인쇄되는 사진! 노랑색, 붉은색, 푸른색, 그리고 마지막 라미네이트 코팅이 진행돼요. 화질은 폰 화면으로 보는 것보다 약간 흐리게 나와서, 너무 밝은 사진보다 적당히 대비가 있는 사진 위주로 인쇄하면 좋겠다 싶었어요. 아무리 디지털 기술이 발달해도, 인쇄해보면 아직 필름 카메라의 느낌을 따라잡긴 힘든 것 같아요.
When you press the print button in the app, the photo is instantly printed. It comes out in yellow, red, and blue colors, and finally, a laminate coating is applied. The image quality is slightly softer compared to viewing it on the phone screen, so it's recommended to print photos with a balanced contrast rather than overly bright ones. No matter how advanced digital technology becomes, it seems challenging to completely replicate the feel of film cameras when printing.
그래도 휴대성이나 활용도는 나쁘지 않아서 몇년간 잘 써볼 예정입니다. 쓰다보면 기술이 더 좋아지겠죠 :)
Still, this product is handy and versatile, so I'll be using it for a good few years. And who knows, with time, technology might get even better!
'Shopping' 카테고리의 다른 글
| 알로 요가 alo yoga 쇼핑템 2️⃣ [Unisex Half-crew Sock/Shopper Tote/Mega-C Body Wash] (1) | 2024.01.21 |
|---|---|
| 알로 요가 alo yoga 쇼핑템 1️⃣ [Accolade Hoodie/Muse Hoodie & Sweatpant/Off-duty Cap] (1) | 2024.01.19 |
| COS [디컨스트럭티드 울 스웨터/Deconstructed Wool Sweater] (0) | 2024.01.07 |
| 조셉조셉 JosephJoseph [폴리오 양면 도마 4종 세트/실버] (3) | 2024.01.04 |
| 로지텍 Logitech 미니멀 고급 무선 일루미네이티드 키보드 [MX KEYS MINI] (1) | 2023.12.30 |